- Thu 08 May 2025
- programming
- Gaige B. Paulsen
- #3d-printing
This past weekend, I was experimenting with MultiBoard, a 3D printed wall organizer system. Starting there, it's an interesting and useful product. I downloaded the starter kit and printed it. It's well-designed and flexible.
As I was playing with the output, I was wondering how to appropraitely (and not necessarily permanently) attach the pieces to the wall. I looked around the system and found some pieces that would use 3D Command Strips to attach the pieces to the wall. That seemed suitable, so I set out to print a small set of examples.
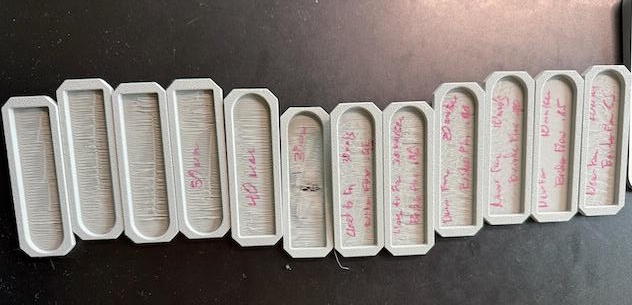
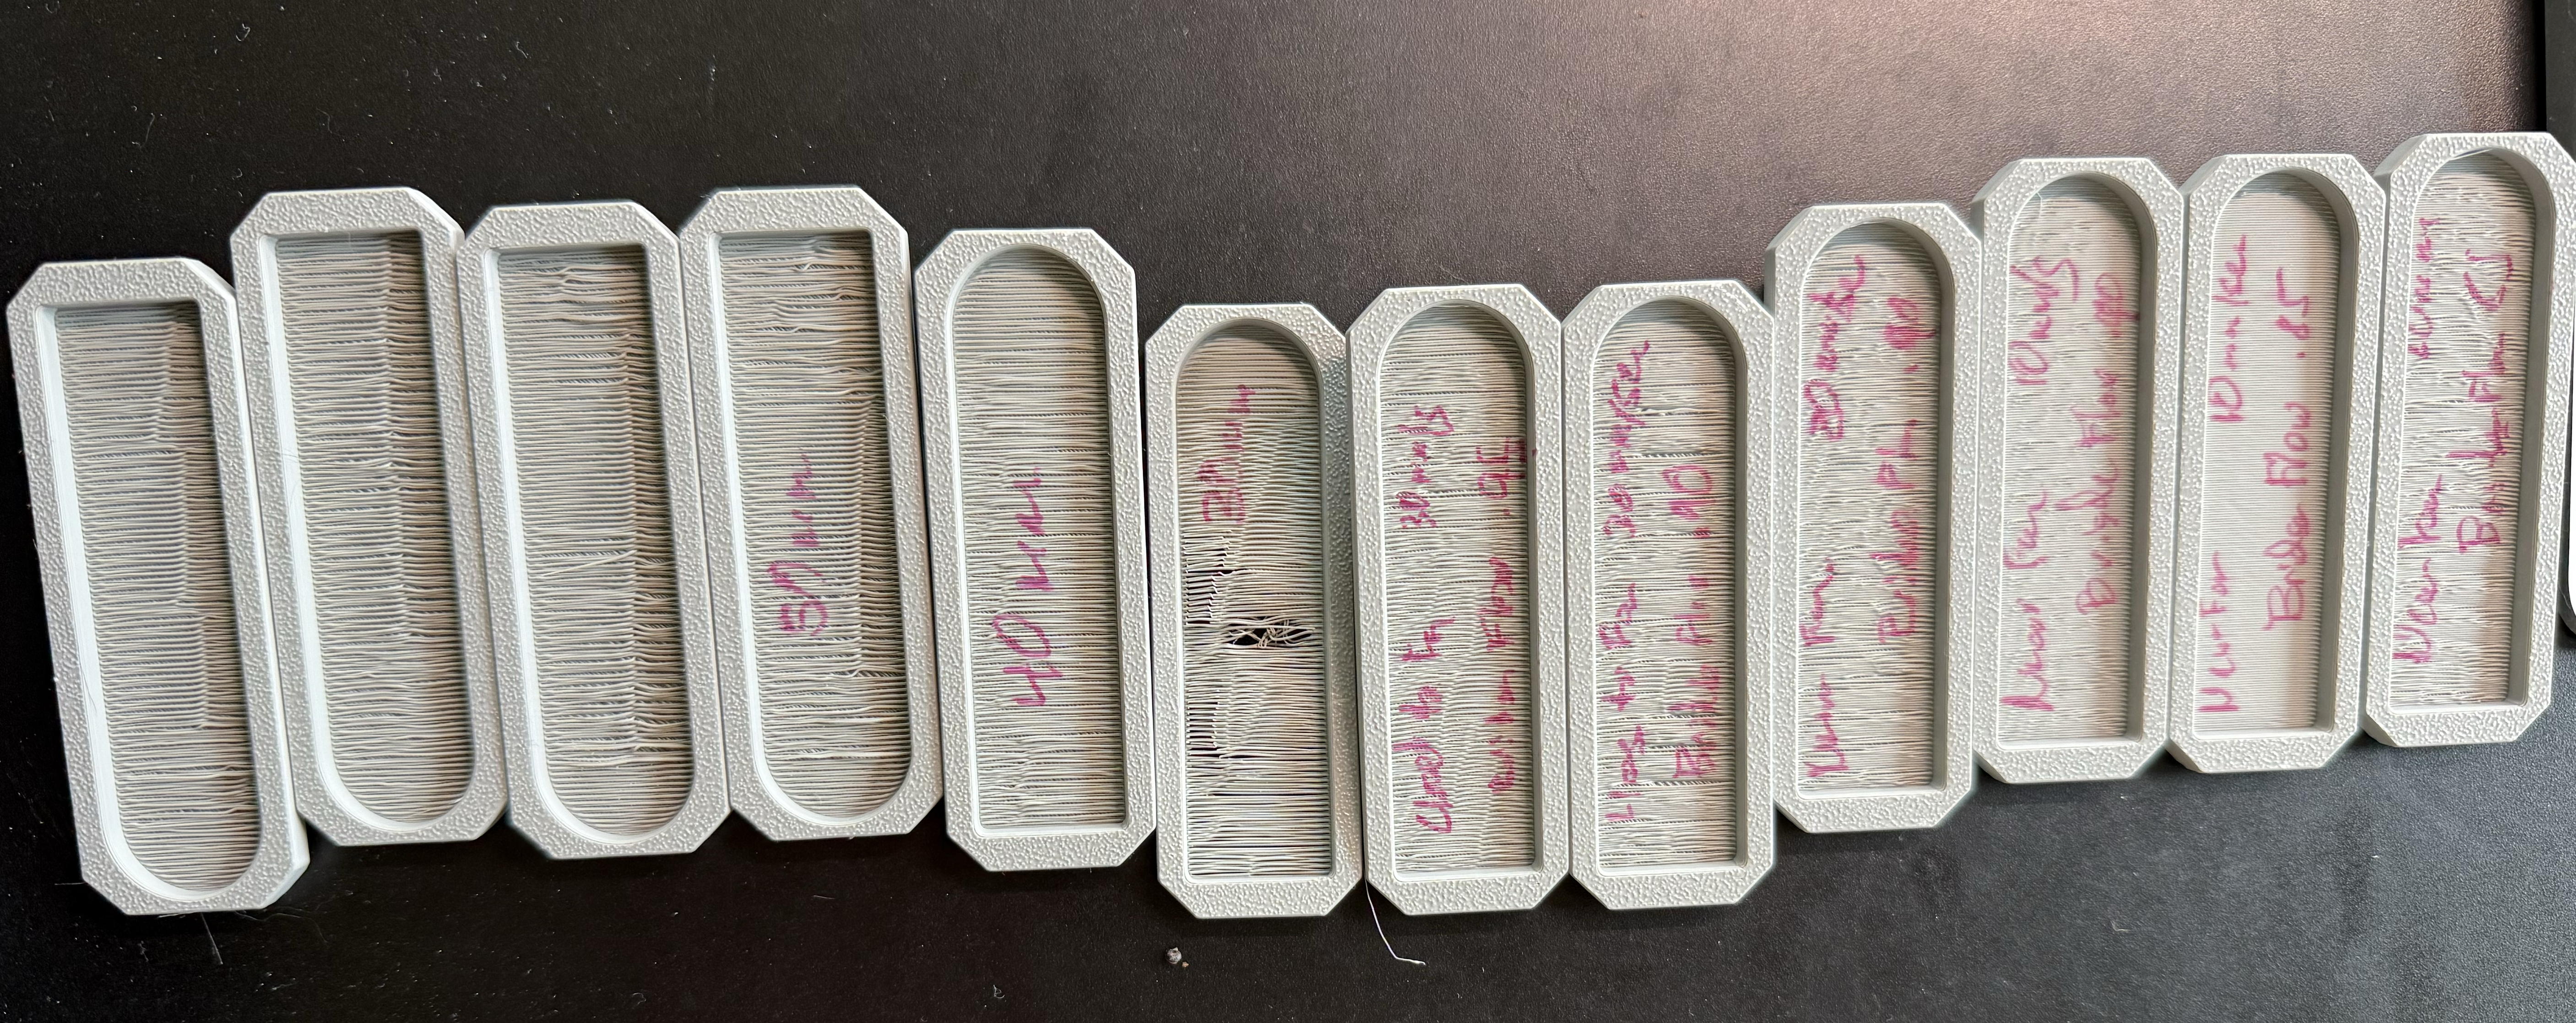
Most of what I'd printed so far worked fine without any changes to the print profile settings. However, printing the Command Strips attachments was a different story. The pieces has a large, nearly 20mm gap between the two sides of the strip that needed to be bridged. My first print was pretty ugly, coming out like a washboard, and with enough detachment between the gap-spanning layer and the next layer that you could cut the filament with a fingernail.
Adding to this, I originally printed 4 pieces at once and they were progressively worse as they got further from the cooling fan. Clearly, I needed to makes some adjustments to the print profile settings. I started by slowing down the speed from 50mm/s to 40mm/s, then 30mm/s. It got somewhat better, but was still pretty bad and I decided to move to adjusting the Bridge Flow Rate setting from 100% down to 95, then 90, without a ton of success. So, I went back to the speed settings and dropped to 20mm/s, and then 10mm/s. That was looking quite a bit better, so I went back to the Bridge Flow Rate and dropped it down to .85 and that looked quite good.
I was happy with the results, but I was still curious which setting made the most difference. After dropping the Bridge Flow Rate to .85, I went back to 20mm/s. That clearly showed that although both were necessary, the speed was the most significant.
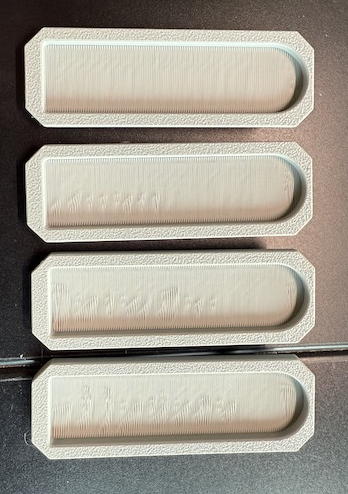
Happy with these results, I printed 4 pieces up to see how the cooling fan would affect the pieces. Intentionally, I printed them parallel to the cooling fan, with the intent of having clear delination between the airflow in the pieces. Not surprisingly, the pieces closest to the fan came out almost perfect. The ones furthest away were starting to show some signs of washboarding, but not as bad as the first print.
In the case of a hidden gap, such as where the Command Strips attach, these are probably sufficient. I was careful to use the same filament for all of the tests (Bambulab Basic PLA) and the tests were on my P1S.